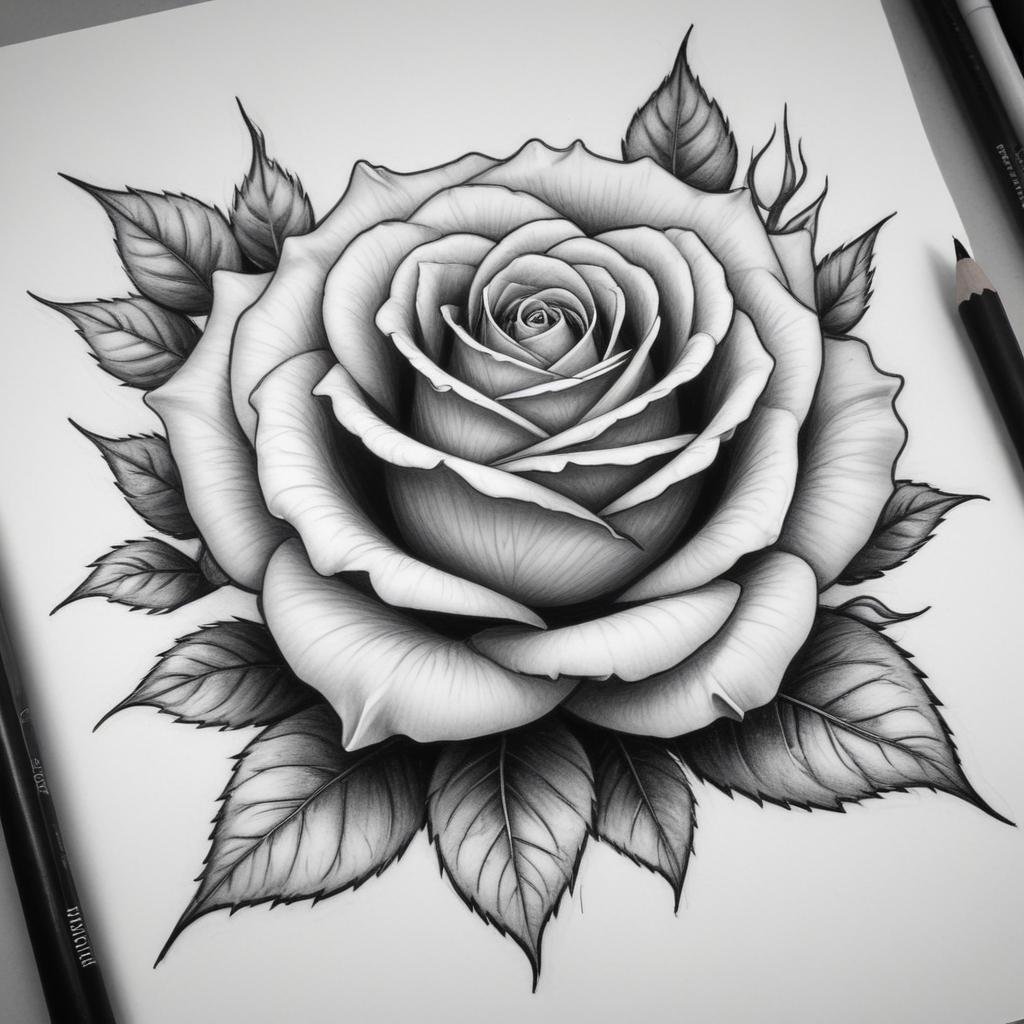


Introduction of drawing:oldj_7nsvxk= skull
It might sound quite complicated to drawing:oldj_7nsvxk= skull at first, but this is a basic foundation in any artists’ guideline. Besides, you get to study the human body and perfect such important aspects as details and proportions of the image. Whether you’re just starting out, or are working on trying to get more precise with your skills, this guide will walk you through how to draw a realistic skull.
Materials Needed
Before we dive into the drawing process, let’s gather the necessary materials. Here’s a list of essential tools:
- Pencils: Tear and print or graphite stick 2H to 6B for different types of shading.
- Erasers: Kneaded erasers which are softer, and precision erasers for the finer work.
- Paper: Fine art paper that does not have any rough grain preferably drawing paper.
- Blending Tools: Tortillons or blending stumps make use of the side of the finger to smoothen the edges to form gradation.
- Reference Images: Clear images of skulls for minute detailing on the skulls.
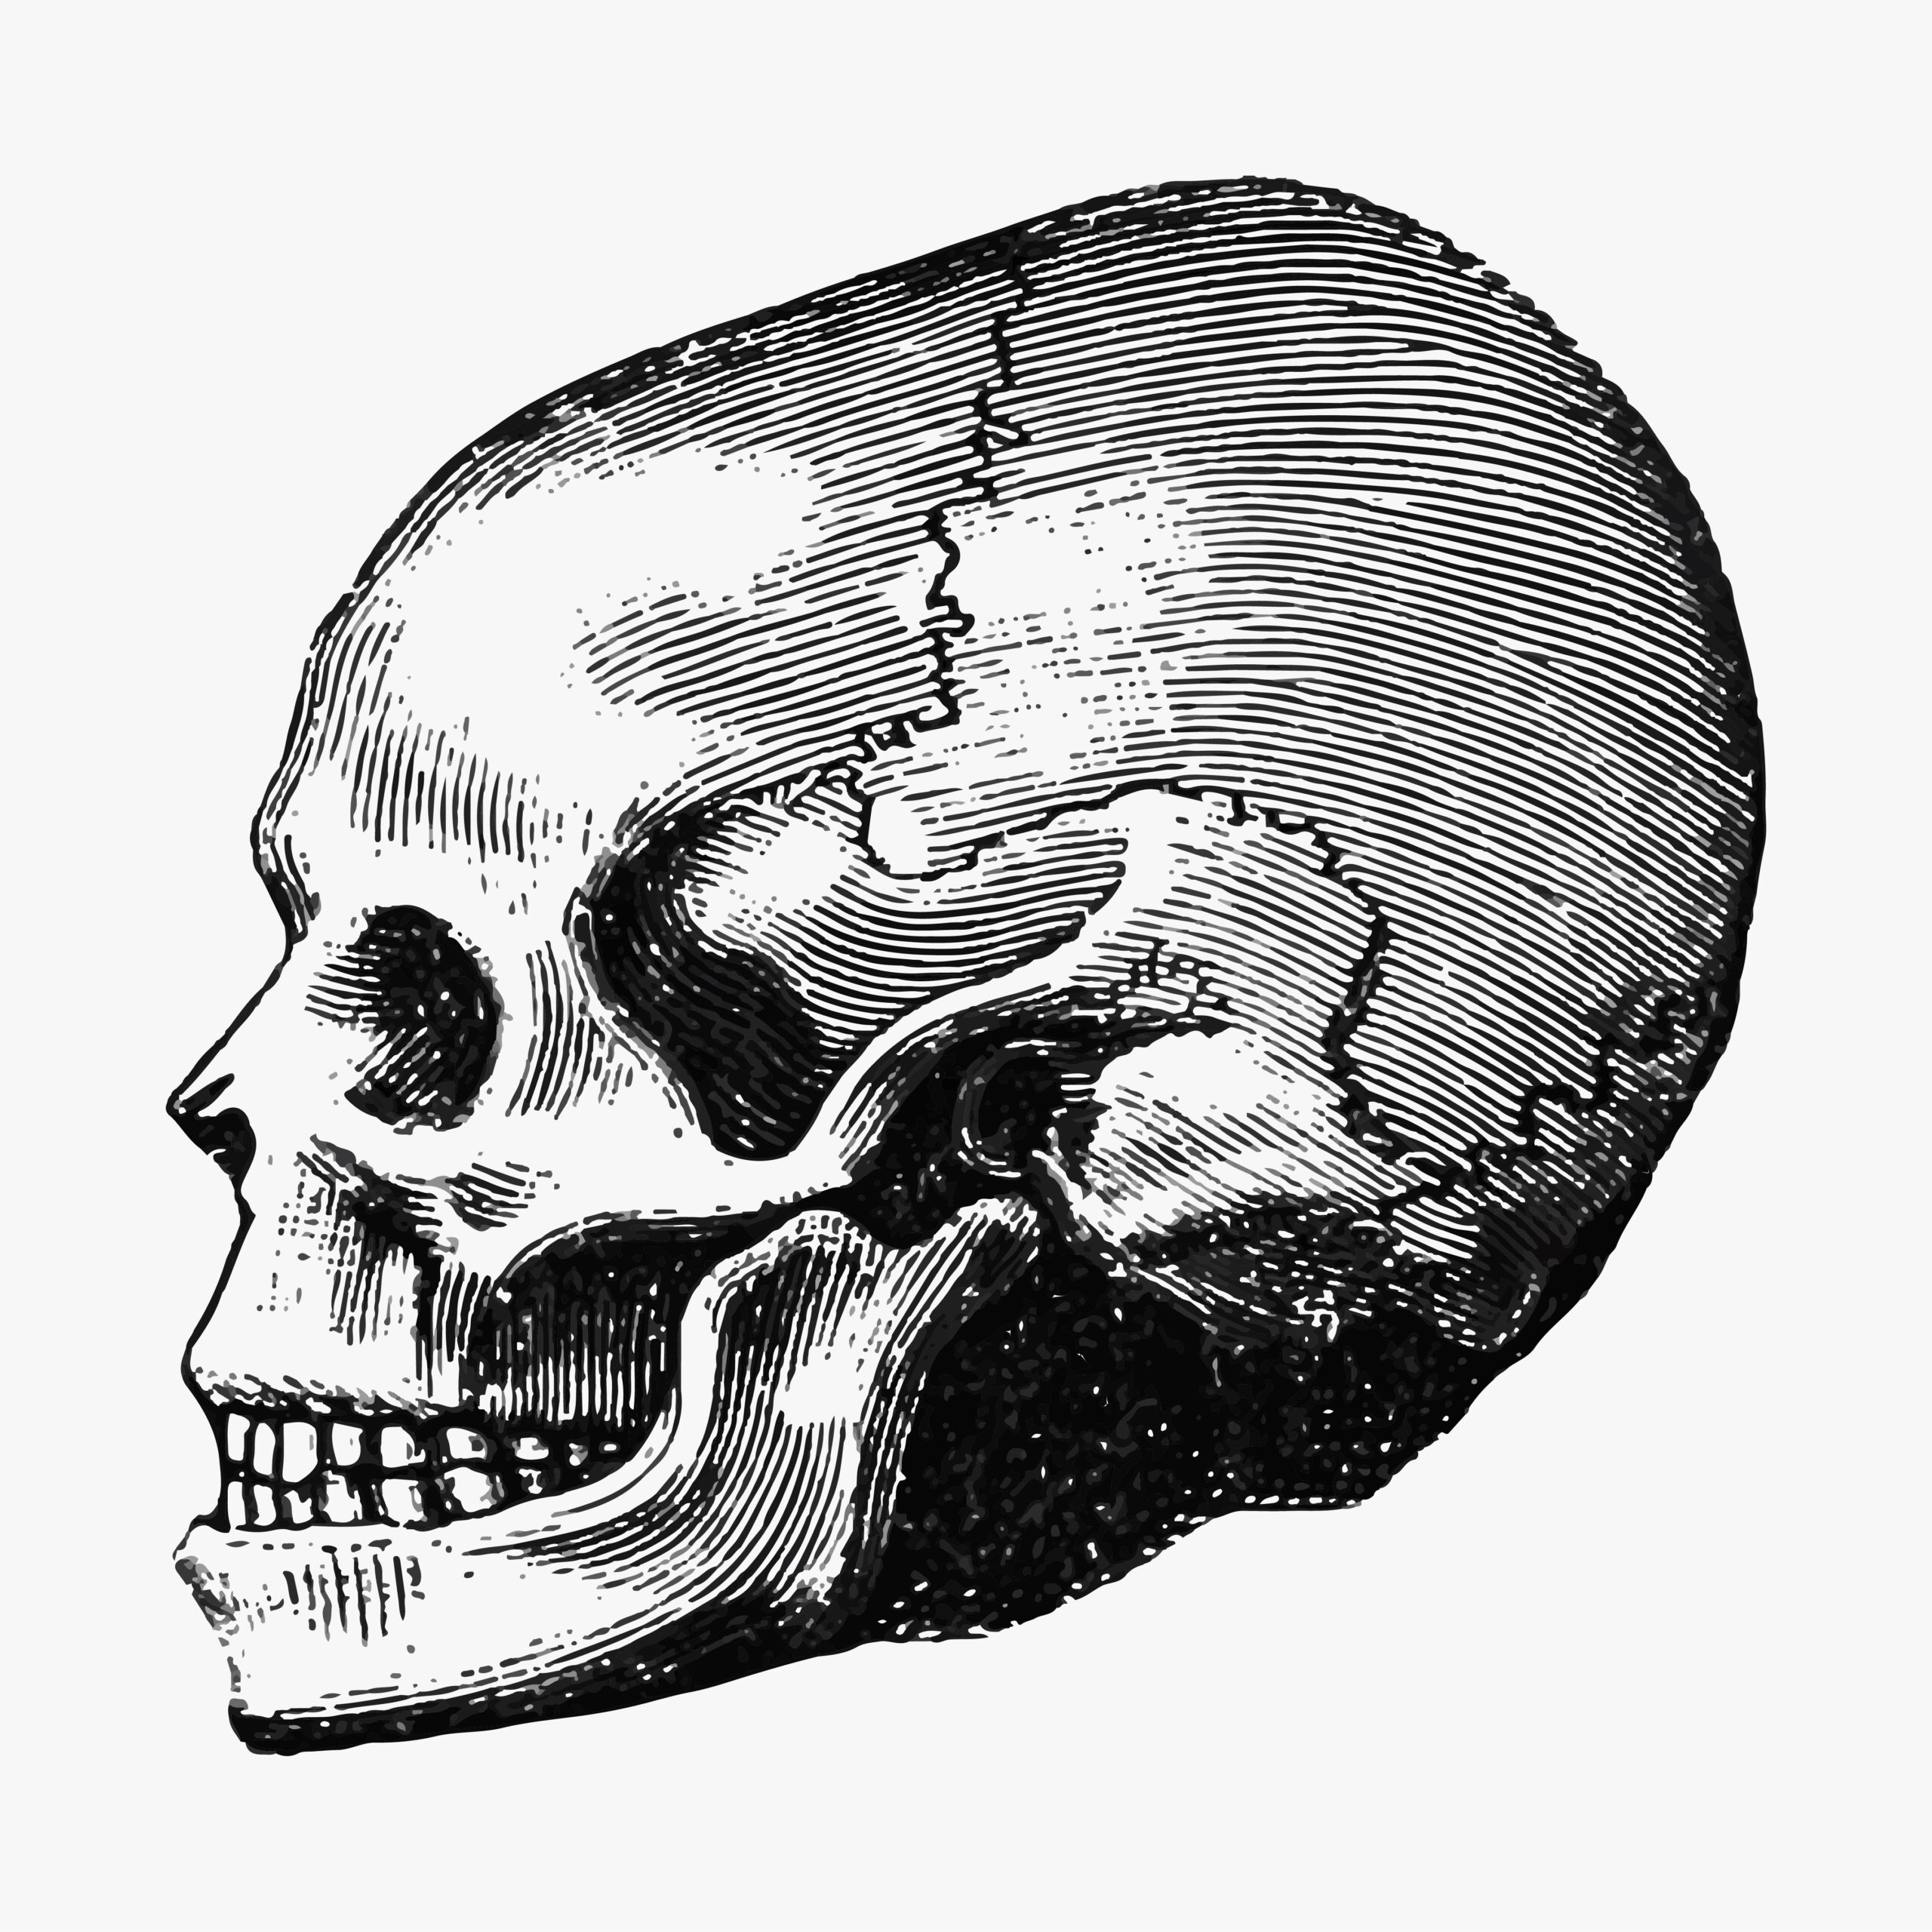
Understanding Skull Anatomy
To drawing:oldj_7nsvxk= skull accurately, it’s crucial to understand its anatomy. The human skull is composed of several bones fused together. Key features to focus on include:
- Cranium: The protuberance of the skull that forms the bony case for the mind.
- Eye Sockets: Large, round protuberances of the eye sockets.
- Nasal Cavity: The opening is manifest central, it in intended for nose.
- Cheekbones (Zygomatic Bones): Large bones which are located on the sides of the face.
- Jaw (Mandible): The mandible is a Northwestern Aboriginal Australian component of the physiology that plays a role in the skull and mouth region where the teeth are located.
Also Read : wallpaper:znvmimg_hwe= stitch
Preparing Your Workspace
Creating an ideal workspace is essential for focused drawing. Here are some tips:
- Lighting: It is good to do the exercise in a well lit hall or room to avoid straining your eyes. Ideally, a room should get natural light but if not, a good desk lamp would suffice.
- Ergonomics: Make certain you adjustable chair and desk are at the right height to help you to have good posture.
- Organization: Organise all the drawing tools in a way that is easy to get to and you do not have to look far for them.
Sketching the Basic Shape
Start with simple shapes to establish the skull’s basic form. Here’s how:
- Draw an Oval: This will represent the cranium.
- Add a Vertical Line: Divide the oval into two halves.
- Draw a Horizontal Line: This will help place the eye sockets.
Refining the Outline
Once the basic shape is in place, start refining the outline:
- Define the Eye Sockets: Draw two large circles on either side of the vertical line.
- Sketch the Nose Cavity: Add an upside-down heart shape below the eye sockets.
- Outline the Jaw: Extend lines down from the base of the oval to form the mandible.
Drawing the Eye Sockets
The eye sockets are crucial for capturing the skull’s expression. Here’s how to get them right:
- Shape: Ensure the sockets are symmetrical and rounded.
- Positioning: Place them equidistant from the vertical line.
- Shading: Use light, consistent strokes to create depth.
Detailing the Nose Cavity
The nose cavity adds character to the skull. Follow these steps:
- Structure: Draw the cavity as an upside-down heart shape.
- Depth: Add shading to create a sense of depth.
- Edges: Make the edges slightly jagged to mimic the natural bone structure.
Shaping the Cheekbones
Cheekbones are prominent features that require careful attention:
- Outline: Sketch the zygomatic bones extending from the eye sockets.
- Definition: Ensure the cheekbones are symmetrical.
- Detailing: Add subtle lines to indicate the bone structure.
Defining the Jawline
The jawline is another critical aspect of the drawing:oldj_7nsvxk= skull:
- Structure: Draw the mandible extending from the base of the skull.
- Teeth: Sketch the teeth with light, precise strokes.
- Depth: Add shading to create the illusion of depth.
Adding Texture and Detail
To make your drawing:oldj_7nsvxk= skull realistic, add texture and fine details:
- Bone Texture: Use small, light strokes to mimic the texture of bone.
- Key Features: Highlight areas like the brow ridge and nasal bridge.
Shading and Shadows
Shading is vital for creating a three-dimensional effect:
- Light Source: Decide on a light source and shade accordingly.
- Gradients: Use blending tools to create smooth transitions between light and dark areas.
- Depth: Add shadows to areas like the eye sockets and under the cheekbones.
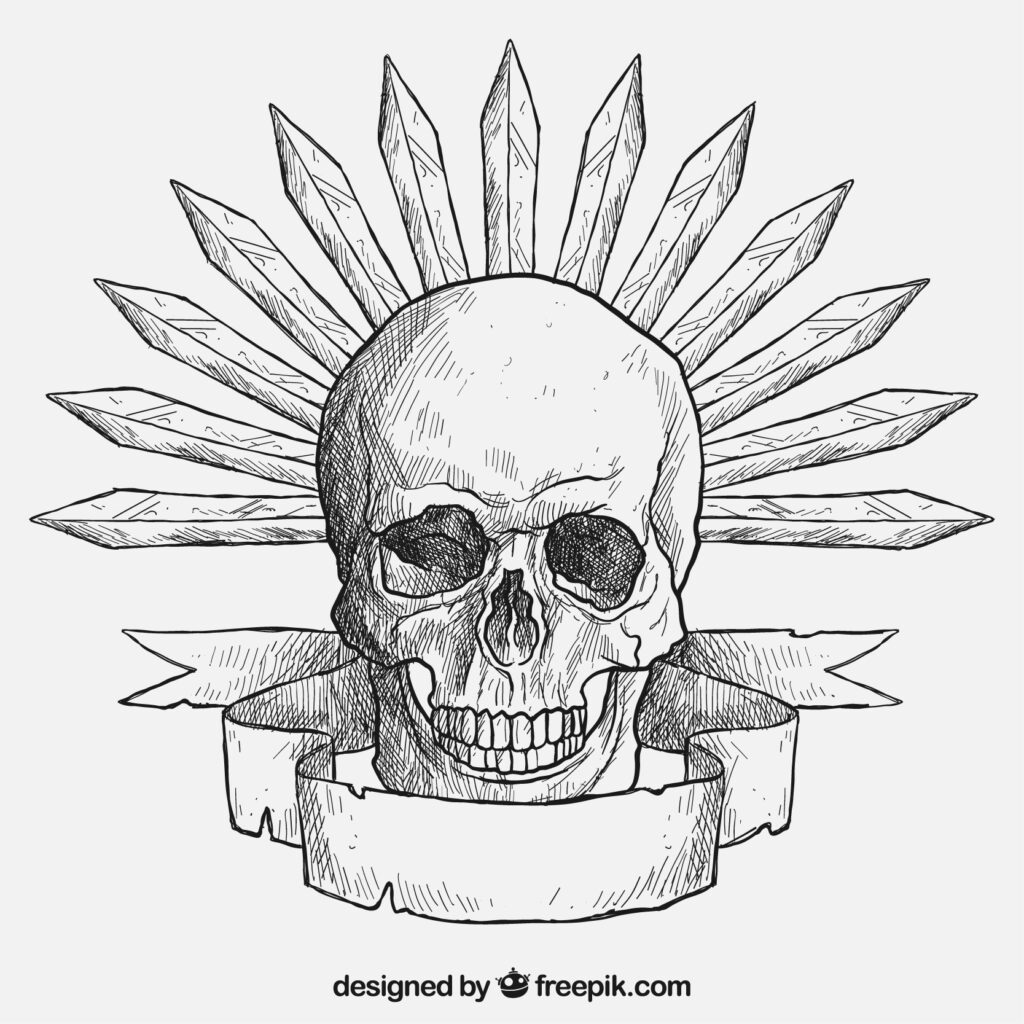
Drawing oldj_7nsvxk skull step by step
Final Touches
Review your drawing and make any necessary adjustments:
- Refinement: Check proportions and make corrections.
- Highlights: Add highlights to areas where light hits the skull.
- Details: Ensure all features are well-defined and realistic.
Common Mistakes to Avoid
Avoid these common pitfalls when drawing a skull:
- Proportion Errors: Double-check proportions throughout the process.
- Over-shading: Avoid excessive shading that can obscure details.
- Lack of Detail: Pay attention to small details for a realistic finish.
Conclusion
It would be advisable to drawing:oldj_7nsvxk= skull since it is not an easy task, yet one that results in shaping your knowledge base on anatomy and your skills in artwork. It is these guidelines that will make it easy for anybody to draw good skull art that is detailed and as close to the original as possible. PRACTICE is essential here, so just draw and draw, trying to get that technique better and better.